Sunday 12 February 2017

Linux robot

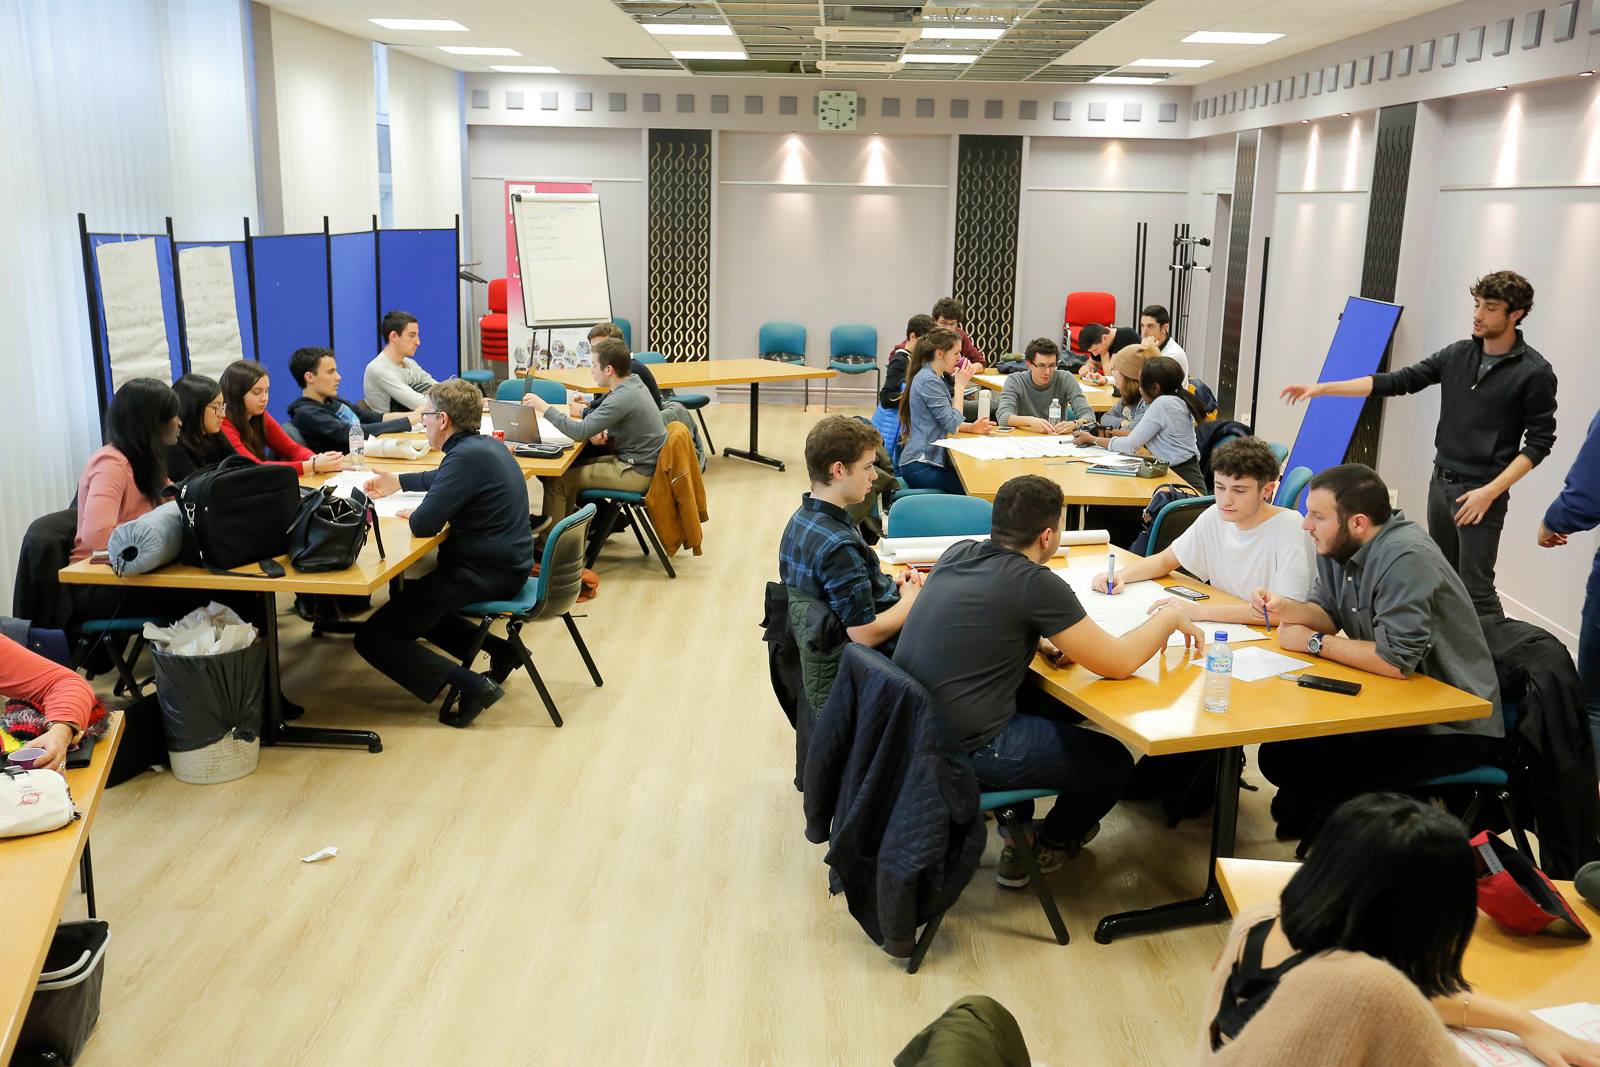
During our engineering training, sometimes our teachers give us the task of working in interesting projects, our last work was to program a robot so we could control it with a smartphone. This project was so interesting that we just couldn’t talk about it in this blog.

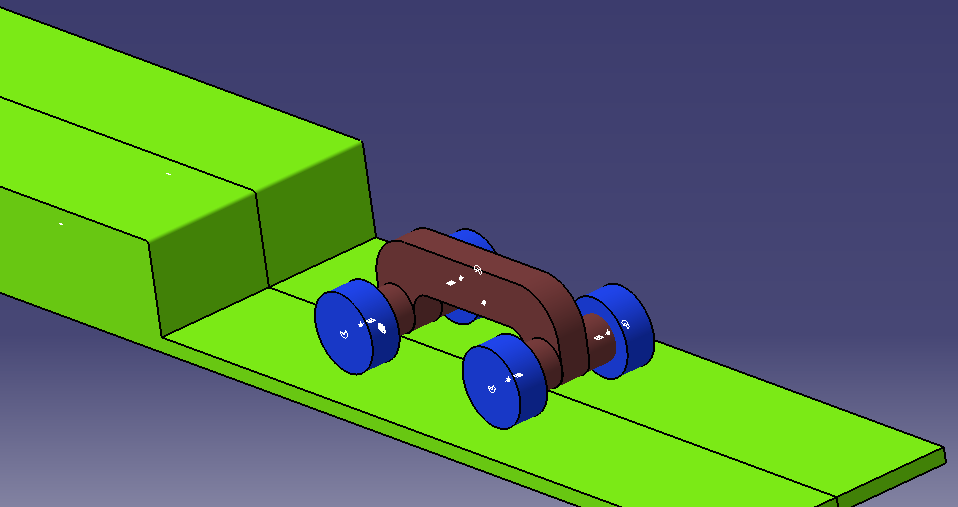
The robot is already build, it’s a mobile robot that has four wheels, a clamp and many sensors (Infra-red, ultrasounds, gps, compass…). 
Our mission was to program the robot so he can be controlled by an application on a smartphone. The robot has to send all the sensors data and the image of its camera to the smartphone and the pilot can use the phone like a remote to move the bot thanks to wifi. The communication architecture used here is called client-server, it means that the server is passive and waiting for request that the client send. In our case the server is the robot and the client is the smartphone.

The robot is controlled by a raspberry-pi, it’s a nano-computer that has the size of a credit card and that work with the operating system linux. It’s used a lot in engineering to do prototypes in embedded electronics because it’s cheap and easy to use. We did realise our software in using the java language. The smartphone app was realized by another group in html and JavaScript.


At the end we did a contest off glass catching with our bots, it was a big accomplishment for us.

Pushing robots, software and strategies

In a previous article, we wrote about the hardware of our pushing robots (http://rica4-by-mkx.blogspot.fr/search/label/Pushing%20robots), we will now present the software part.


To develop this software we used the Arduino IDE with a library that allows us to control the motors easily.

Our program was made of two big parts, the first one to move forward in front of the RICA, and the other one to follow another robot on the side. To choose the part of the program that we want to use, we put a switch on the robot.


To move forward in front of the RICA, we use a simple strategy: every motor was control by the infrared sensor located on the same side. If the distance is too high on a sensor, the track of this side goes forward, if the distance is too low, the motor goes backward. Moreover, the speed of the motor is proportional to the gap between the desired distance and the actual distance.

To follow by the side, we use two infrared sensors. If the rear sensor doesn’t sense the other robot, the robot moves forward, if it’s the front sensor, the robot moves backward. Another part of the program was made to keep the robot at a constant distance from the other robot and allowed it to turn following the other robot.


Finally, last week, we improved this first program by adding it a dashboard, to do this we used the software labview. With this interface we can adapt parameters of every robot in real time.


The next step is now to make our pushing robots communicate between them.

Thursday 9 February 2017

The Creativity Seminar

On the 2nd and 3rd of February, the EMA (Ecole des Mines d’Alès) hosted its annual Creativity Seminar, a meeting for students of various schools to be taught methods and techniques to innovate, using the imagination of a group rather than a single person.

16463136_1619431398073601_8489585818251489057_o.jpg

This event’s main organizer is Michel Ferlut, the Economic Development Director of our school, who did all kinds of meetings and courses on creativity and innovation over the years.

Michel-Ferlut.jpg

After a presentation on the topic of innovation to warm us up, representatives from numerous companies such as Total, Cora or SNCF would take a group of approximately ten students and teach them over 10 hours their own methods and their experiences.

16423022_1619432414740166_2780646708558225105_o.jpg16300366_1619431941406880_2113087926771369259_o.jpg
The meeting ended on a bright note, students participated in a Flash Mob on the song “Different kind of prostitute” by Chilly Gonzales, Mr. Ferlut cheerfully gave us one joke after another and we could hear the schools sing their “hymns”.

But the end of the meeting isn’t the end of our creative work. Companies would now put students’ imagination to the test with the Creativity Challenge. Each company gave a theme and objective to work on. Students of the EMA have now 5 weeks to offer a solution to their problems. The students with the most successful ideas would receive various rewards from the companies such as mediatisation or privileged partnerships.

As apprentices, we have a different challenge to take on. On the subject of the RICA, we have one week to come with innovative ideas and present them in the form of a Pecha-Kucha (automatically transiting diapositives, 20 pictures x 20 seconds each).

pk1.png

Each group used the techniques they learned during the seminar to find solutions with no limitation by reality. The Pecha-Kucha will be presented the Friday 10th of February before the school’s teachers.

We hope some of our ideas will be the start of bigger innovations in the future.

20140723_152638_179693799-wavebreakmedia-ltd.jpg

NB : A fun fact is that “Seminar” comes directly from the Latin word “Seminarium” which translates in English to “plant nursery”, a fitting metaphor on the theme of creativity if you imagine an idea is like a plant.

rosier pep2.jpg

Wednesday 8 February 2017

CATIA and Crossing function modelization


We began working on the mobility system of the RICA robot : movements, crossing over obstacles…


So far we had two different classes : the first one’s objective is creating a complete plan of the robot architecture using Core, the second’s is modelizing the robot crossing over a 30 cm tall step on CATIA v5. I will elaborate on CATIA further below.

CATIA is one of the more complete CAD tools on the market and is used by important companies such as airplane companies to conceive their planes and realize calculations.

DS-CATIA-Logo-300x243.png3467813675_3da53e1c45.jpg


For the class we practiced creating simple forms such as wheels and tried to make them cross the step by applying different factors : speed, torque, lack of gravity… All of this is possible through the SimDesigner add-on. By creating a model, we can then study the effects of those different factors on the movement. Proceeding step by step we then modelized two wheels, then four.

Sans titre.png

We are now one step closer to create the mobility system we are expected to do.